So you've got a new hard drive and you want to add it to your Linux machine. Maybe you're adding a second hard disk to store more media, or maybe you're installing a new SSD on your Linux homeserver.
Whatever the reason, adding a new hard drive is a simple process that we can do straight from the command line.
Overview
In this guide, we will:
- Install the new hard drive (physically)
- Partition and Format the drive
- Mount and register the drive
1. Install the new Hard Drive
Before installing your new drive, grab a list of your current drives using parted. This is optional, but I like to use this "before" snapshot to compare it to the output we'll generate after installing the drive.
sudo parted -lNext, you'll want to power down your machine and physically install the new hard drive. This varies by make and model, but you should see hard drive slots to add new drives when you open up the casing.
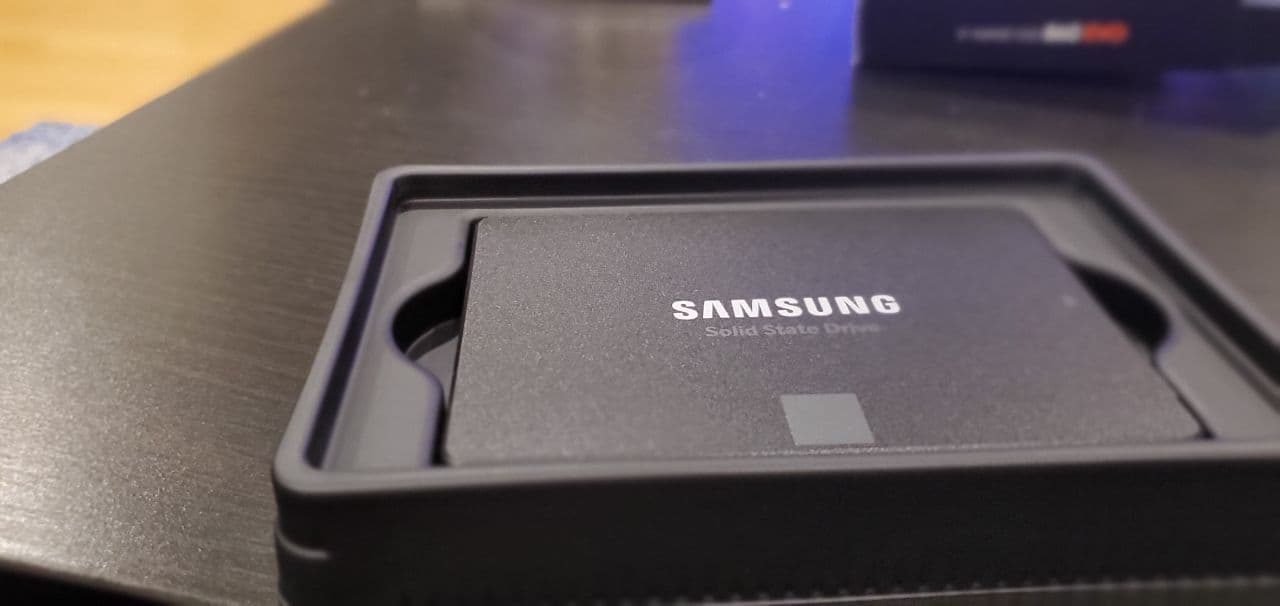
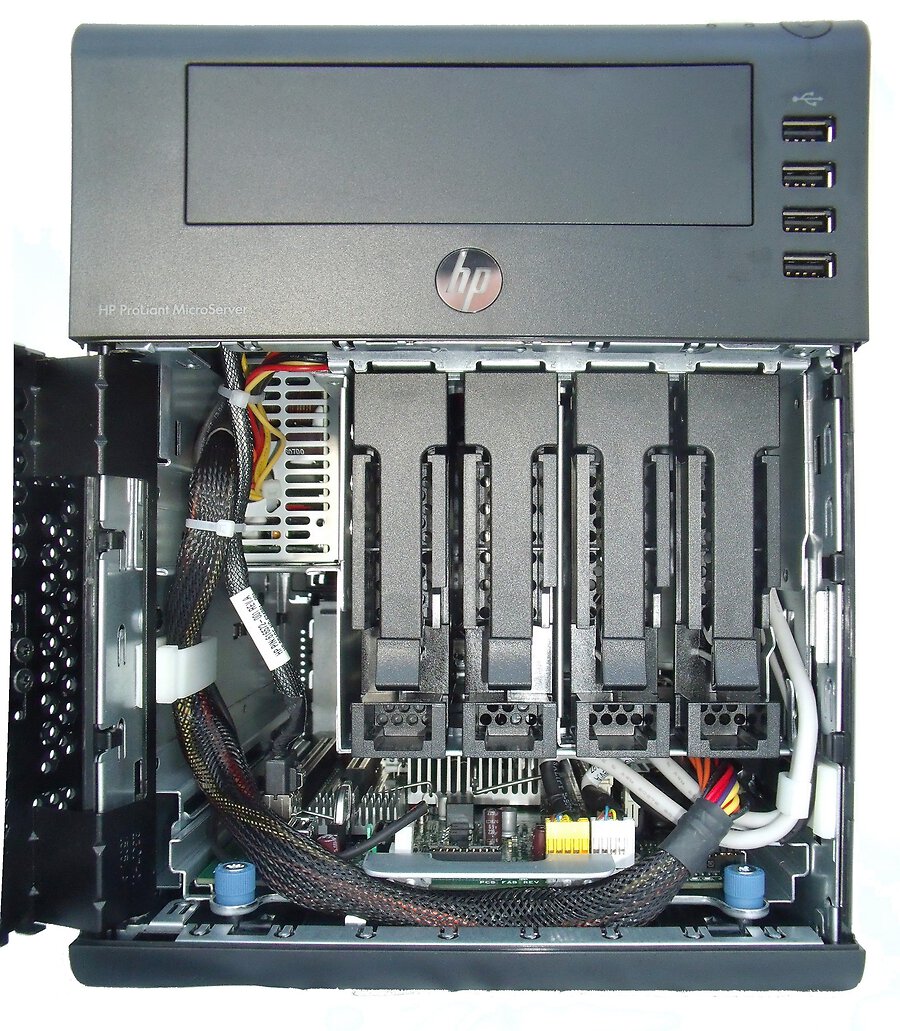
I personally recommend the HP Proliant line of home servers. In this example I added a 1TB Samsung SSD (which also requires a 2.5" to 3.5" HDD adapter tray)
2. Partition and Format the drive
Locating the new Drive
After booting your machine back up, list your drives again.
This time you'll notice a new drive, which may be labeled as unrecognized disk. In this example I added a new 1TB Samsung SSD, which is named /dev/sdb.
> sudo parted -l

Model: ATA VB0250EAVER (scsi)
Disk /dev/sda: 250GB
Sector size (logical/physical): 512B/512B
Partition Table: msdos

Number  Start   End    Size    Type      File system     Flags
 1      1049kB  248GB  248GB   primary   ext4            boot
 2      248GB   250GB  2011MB  extended
 5      248GB   250GB  2011MB  logical   linux-swap(v1)


Error: /dev/sdb: unrecognised disk label
Model: ATA Samsung SSD 860 (scsi)
Disk /dev/sdb: 1000GB
Sector size (logical/physical): 512B/4096B
Partition Table: unknown
Disk Flags:
Linux drives are usually named in the format /dev/(type)(letter). The type is a two letter identifier based on the drive type, and the letter starts with a and increments sequentially: /dev/sda, /dev/sdb, etc...
Read more about device names in Linux.
Creating the Partition
Start the parted interactive console by giving it the device name you'd like to edit:
sudo parted /dev/sdb
It's important you get the right device name - you don't want to format the wrong drive! You can always switch to a different selected drive by typing select /dev/sdX in the parted console.
A partition table describes the layout of the partitions on a disk. There are several partition table formats, but we'll be using gpt.
Create a gpt partition table and verify the output:
(parted) mklabel gpt
(parted) print

Model: ATA Samsung SSD 860 (scsi)
Disk /dev/sdb: 1000GB
Sector size (logical/physical): 512B/4096B
Partition Table: gpt
Disk Flags:

Number  Start  End  Size  File system  Name  Flags
As you can see, it defaults to having no partitions (note the empty table at the bottom of the output).
Now let's partition the entire disk. Note that you can also choose to partition part of the disk or even certain ranges (e.g. mkpart primary ext4 0GB 500GB) in order to create multiple partitions if you'd like.
(parted) mkpart primary ext4 0% 100%
(parted) print
Model: ATA Samsung SSD 860 (scsi)
Disk /dev/sdb: 1000GB
Sector size (logical/physical): 512B/4096B
Partition Table: gpt
Disk Flags:

Number  Start   End     Size    File system  Name     Flags
 1      1049kB  1000GB  1000GB  ext4         primary
The partition table now has 1 partion equal to the size of the entire drive.
In this case primary is the name of the partition, not the partition type (which confusingly also uses the label primary).
Finally, quit the parted console:
(parted) quitFormating the Partition
Use mkfs to format our new partition:
sudo mkfs -t ext4 /dev/sdb1Similar to device names, partitions under a device (drive) are named by sequentially numbering the device names:
/dev/sdb1
/dev/sdb2
/dev/sdb3
...
Mount and Register the Drive
Create a mount point - this is the path where your new drive will be located. It can be any arbitrary path
sudo mkdir -p /hddMounting the Drive
Mount the drive
sudo mount /hdd
Verify the new mount with df:
df -h
Filesystem      Size  Used Avail Use% Mounted on
udev            926M  8.0K  926M   1% /dev
tmpfs           188M  940K  187M   1% /run
/dev/sda1       228G  150G   66G  70% /
none            4.0K     0  4.0K   0% /sys/fs/cgroup
none            5.0M     0  5.0M   0% /run/lock
none            938M   72K  938M   1% /run/shm
none            100M   12K  100M   1% /run/user
/dev/sdb1       917G   72M  871G   1% /hdd
The output shows that the new device partition /dev/sdb1 is mounted at /hdd.
Edit fstab
You don't want to have to manually mount your device each time you restart.
The /etc/fstab file contains a table of your filesystem devices. We'll edit this file to add an entry for your newly added hard drive. Linux reads this file on each boot up and will automatically mount your new drive for you.
First, find the drive's UUID. We use the UUID because unlike device lables (e.g. /dev/sdb), it doesn't change if you move the drive to a new slot or machine in the future.
> sudo blkid | grep sdb1
/dev/sdb1: UUID="31f32bc3-13ab-48dd-bd24-1ac9fa9325e7" TYPE="ext4"
Open /etc/fstab file with root permissions:
sudo vim /etc/fstab
And add following to the end of the file, substituting your own UUID and mount path:
# <file system> <mount point>   <type>  <options>       <dump>  <pass>
/dev/disk/by-uuid/31f32bc3-13ab-48dd-bd24-1ac9fa9325e7    /hdd    ext4    defaults    0    0
The man fstab documentation outlines various configurable options. Here we use defaults, which defaults to a few common-sense options outlined in the documentation. One of the defaults is nouser, meaning only a super user can mount drives. This is why we executed sudo mount above.
Configuring Permissions
The hard disk mount folder is owned by root by default.
It's probably more useful to have it be owned by a specific user, so you'll want to recursively update its permissions:
sudo chmod -R 775 /hdd
sudo chown -R abhishek /hdd
sudo chgrp -R abhishek /hdd
Testing
Test out your new drive by writing a file to it:
touch /hdd/test.txtAlso try restarting the machine and ensure the drive automatically gets detected and mounted on boot.
Unmounting and making future changes
If you need to make further changes to fstab or move the mount point, be sure to unmount the device first:
sudo umount /hdd
If you are physically removing the drive, update /etc/fstab to comment out or remove the entry relating to your hard drive. If you don't, linux will complain about a missing drive and fail to boot.
You can also provide the nofail option to avoid this. See this StackExchange question.